Red, White & Blue Button Fun

This activity was the first one so far I’ve bought any specific supplies for.  I was contemplating red, white & blue pony beads, but could only buy gigantic packages…and let’s face it, how many red, white & blue pony bead necklaces can two small girls make?!?  So when I found somewhat smaller packages of red, white & blue buttons, I decided it was time to introduce Carolyn to a needle and thread.
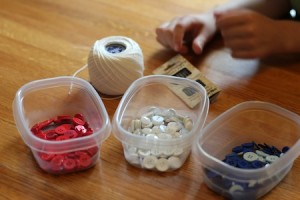
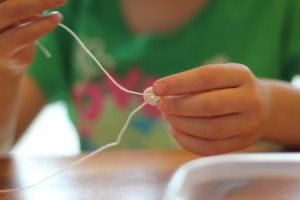
First, assemble your materials.
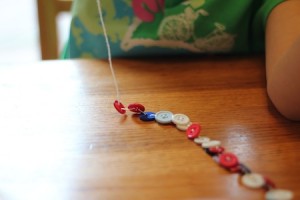
One button at a time!
Patriotic string of buttons.

Button necklaces are pretty simple, you just thread the string through two holes of each button and slide them down – they’ll sort of naturally alternate which way they face off the string to make a reversible strand.  As simple as they are, though, Anna was not quite ready for stringing buttons on her own, so we worked together to make a necklace for her.  And I had some magnetic clasps in my stash so the finished products could be (slightly) safer.

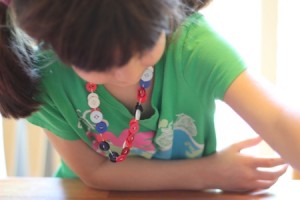
One girl in a necklace.
Another girl in a necklace.
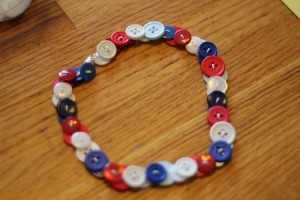
A finished button necklace.

Since I knew Anna wouldn’t be able to string buttons with a needle and thread, I had other plans for her to play with the buttons.  I wrote her name on construction paper with glue and had her stick buttons on it.
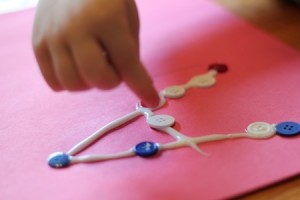
Buttons on a letter 'A'
'Anna' in buttons!

Then Carolyn wanted to glue some buttons.
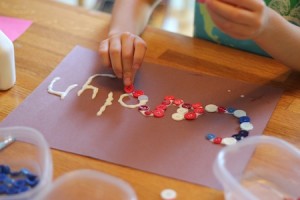
'Carolyn' made out of buttons.

And then we traced some cookie cutters for other shapes to glue buttons onto.
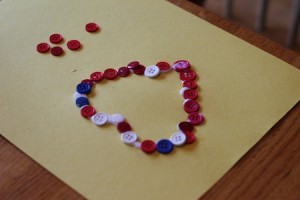
A button heart!

And when all was said and done, we managed to use up almost all of those red, white & blue buttons, but it took them most of the afternoon.  That made buying buttons totally worth it!

Not Quite Naked Pizza

I was very disappointed when the Naked Pizza place near us closed – most regular pizza gives me terrible heartburn, but this place had some secret crust recipe that somehow didn’t bother me, plus it was pretty Weight Watchers friendly.  But they closed, abruptly and without explanation.

So I’ve been on a quest, to make a homemade pizza crust that’s just as tasty, doesn’t use up all my points for the day, and doesn’t keep me up all night.

I think I finally got it right.  It’s not the same, but it’s really tasty, somewhat healthy-ish, and super easy.  I had a hard time finding yeast-free pizza dough recipes, so I thought I’d share.  The best bit is, if you have the various flours on hand already and keep a couple of small containers of plain yogurt in the fridge, you can have pizza on a weeknight in pretty much the same amount of time it would take to have one delivered.

Multi-Grain, Yeast-Free Pizza Dough:

1 cup all-purpose flour
1 cup whole wheat pastry flour
3 Tbsp. flax seed meal
3 Tbsp. oat flour
2 Tbsp. corn meal (+ extra for rolling)
2 Tbsp. wheat germ
2 Tbsp. spelt flour
1/2 tsp. sugar
1/2 tsp. salt
1/2 tsp. pizza seasoning blend
2 tsp. baking powder
12 oz. plain low-fat yogurt
2 Tbsp. olive oil

Preheat oven to 400°F.
(If you're baking on a stone, put it in the oven to preheat.)
1. Combine all dry ingredients in a large bowl.  Mix well.
2. In a separate bowl, mix together the yogurt and oil.
3. Add yogurt and oil mixture to the dry ingredients;
   mix until a soft dough forms.
4. Turn out onto a floured board and knead dough for
   1-2 minutes.  If necessary, add a little flour.
5. Dust board with a little more flour and some cornmeal.
   Roll dough into a circle.  This will make a large pizza.
   Our stone is not that big!  So, I use about 1/3 of the
   dough to make an 8-ish inch pizza for the kids, then the
   remaining 2/3 to make a 12-ish inch pizza for the adults.
6. Top with desired sauce and toppings, and bake for
   12-18 minutes (depending on how thin you rolled it)
   until the crust is slightly brown around the edges
   and the cheese is melted.

This is a hit with both of my oddly picky eaters, who, for whatever reason, will not eat “normal” pizza.  I must have the only two children on the planet who will not eat cheese pizza at a party.